The Toupee Clip Rig
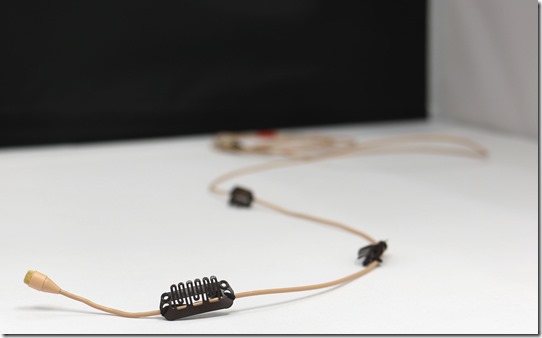
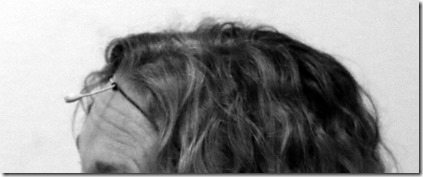
If a halo rig is not consistent enough, or too hard to hide, a toupee clip rig is used. This rig normally uses three toupee or wig clips which attach to the mic cable using elastic and are hidden in the actor’s hair, near the scalp. The mic wire is run from the forehead, straight back over the top of the actor’s head, and down the back, hiding the wire under the actor’s hair and costume. This rig is most suitable on men with longer comb over hairstyles.
Toupee or wig clips are available in three colors (black, brown and beige) and are made in small, medium and large sizes. A large clip offers the most secure placement, but is the hardest to hide in an actor’s hair. Choose the clip based on the actor’s hair length and color. Depending on the actor’s hairstyle, you might use more than one size on the same rig.
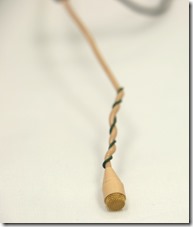
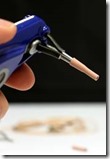
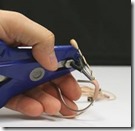
The wig clip can be attached to the mic wire in a number of ways. The most common way is with a piece of elastic strung through the holes of the clip and twisted one or more times before tying the knot tight. The mic wire can easily be threaded through the elastic twist and it is held tightly, yet offers some movement if the clips need to be slid in place.
Follow the simple photo series below below to string a wig clip with elastic and install it on the mic wire, then to position and conceal the rig on the actor’s head.
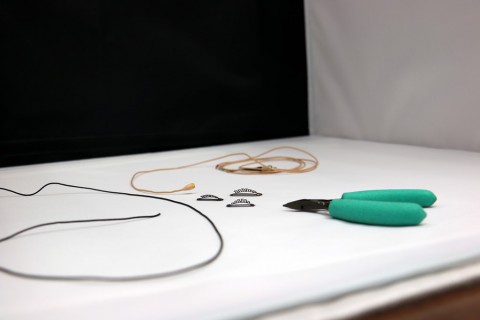
Required Supplies:
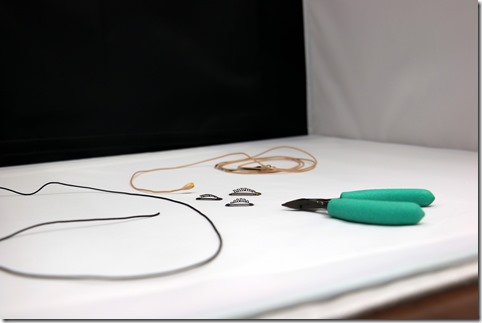
Step One: Loop elastic through the clip ends.
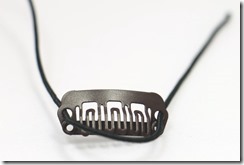
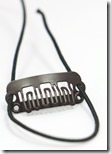
Step Two: Tuck one end through the looped elastic to create a twist.
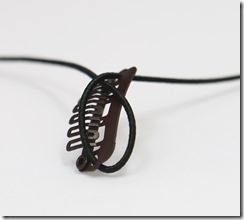
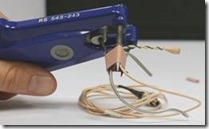
Step 3: Tie the elastic, then move to the underside of the clip.

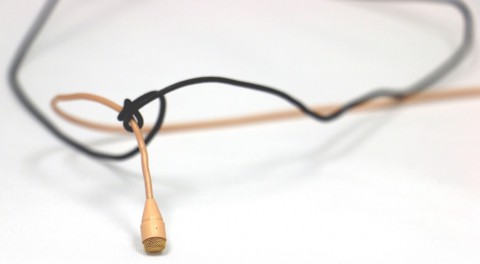
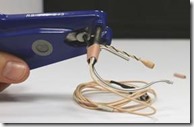
Completed Clip:


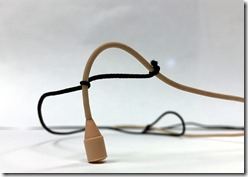
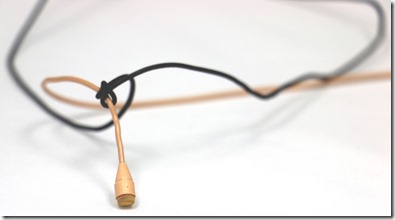
Step Four: Thread the microphone through the elastic so the clip is parallel to the mic wire.
![clip_image002[6] clip_image002[6]](https://www.masquesound.com/wp-content/uploads/2016/08/clip_image0026_thumb.jpg)
Mic Rig Installation
Fitting the microphone on the actor will take some practice to get
the placement perfect and to hide the mic wire sufficiently.
Step One: Using a rat tail comb, create a part in the actor’s hair.
![clip_image002[8] clip_image002[8]](https://www.masquesound.com/wp-content/uploads/2016/08/clip_image0028_thumb.jpg)
![clip_image004[4] clip_image004[4]](https://www.masquesound.com/wp-content/uploads/2016/08/clip_image0044_thumb.jpg)
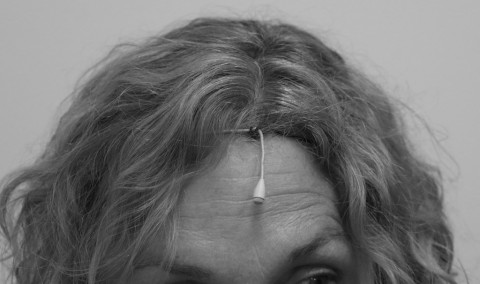
Step Two: Once a clean part has been made, drape the mic over the actor’s head, laying the mic through the part.
Set the front clip (nearest to the capsule), just behind the hairline.
![clip_image002[10] clip_image002[10]](https://www.masquesound.com/wp-content/uploads/2016/08/clip_image00210_thumb.jpg)
Step Three: Set the next clip on the crown of the actor’s head, avoiding their natural part or any bald area.
Setting the clip securely is more important than hiding the wire at this point.
Generally it is possible to slide the mic wire inside the clips after the clips are set.
![clip_image002[12] clip_image002[12]](https://www.masquesound.com/wp-content/uploads/2016/08/clip_image00212_thumb.jpg)
Step Four: The third clip is set on the back of the actor’s head.
The placement of this last clip depends on the actor’s hairstyle and can be close to the neckline in the center, or to the left or right of center.
Placement will depend on the actor’s and the production’s needs, costumes, and hair style.
![clip_image002[14] clip_image002[14]](https://www.masquesound.com/wp-content/uploads/2016/08/clip_image00214_thumb.jpg)
Step Five: After the clip is set, use the comb to pull the hair out from underneath the mic wire in order to hide it.
![clip_image004[6] clip_image004[6]](https://www.masquesound.com/wp-content/uploads/2016/08/clip_image0046_thumb.jpg)
![clip_image002[16] clip_image002[16]](https://www.masquesound.com/wp-content/uploads/2016/08/clip_image00216_thumb.jpg)
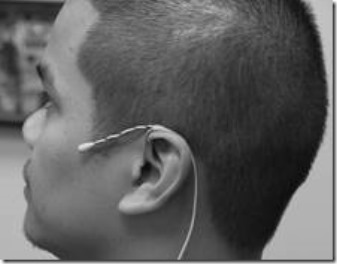
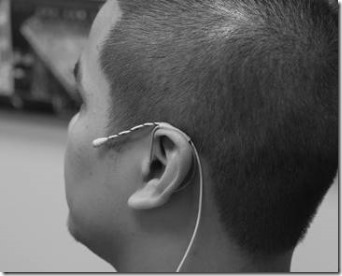
Typically, the mic wire will be colored to match the actor’s hair color, and just the mic capsule will be peeking out from the hairline. The final touch is a piece of tape on the actor’s neck perpendicular to the mic wire to secure it in place.
Depending on the timbre and output of the actor’s voice, placement may vary, but this example is a typical placement.
![clip_image002[18] clip_image002[18]](https://www.masquesound.com/wp-content/uploads/2016/08/clip_image00218_thumb.jpg)
The toupee clip rig works well on actors with longer hairstyles, in situations where a halo rig might be difficult to hide, or when the mic rig needs to offer more consistency. Questions, comments, and suggestions can be sent to the Masque Sound team – our next post will cover mic placement using the ear rig!







![clip_image002[6] clip_image002[6]](https://www.masquesound.com/wp-content/uploads/2016/08/clip_image0026_thumb.jpg)
![clip_image002[8] clip_image002[8]](https://www.masquesound.com/wp-content/uploads/2016/08/clip_image0028_thumb.jpg)
![clip_image004[4] clip_image004[4]](https://www.masquesound.com/wp-content/uploads/2016/08/clip_image0044_thumb.jpg)
![clip_image002[10] clip_image002[10]](https://www.masquesound.com/wp-content/uploads/2016/08/clip_image00210_thumb.jpg)
![clip_image002[12] clip_image002[12]](https://www.masquesound.com/wp-content/uploads/2016/08/clip_image00212_thumb.jpg)
![clip_image002[14] clip_image002[14]](https://www.masquesound.com/wp-content/uploads/2016/08/clip_image00214_thumb.jpg)
![clip_image004[6] clip_image004[6]](https://www.masquesound.com/wp-content/uploads/2016/08/clip_image0046_thumb.jpg)
![clip_image002[16] clip_image002[16]](https://www.masquesound.com/wp-content/uploads/2016/08/clip_image00216_thumb.jpg)
![clip_image002[18] clip_image002[18]](https://www.masquesound.com/wp-content/uploads/2016/08/clip_image00218_thumb.jpg)
